Hello, Blank Page Muse family. This is Lori and today I have this whimsical card to share with you. It consists of a lot of circles, a cone flower, and a bee to end our month of Winged Things theme. I had so much fun playing with paste and sprays while makimg this card. Continue reading for a step-by-step pictorial of how I created this week's card.

I started with a piece of white cardstock, cut down to A2 size. I splattered the panel with sprays from my stash in lime and turquoise. I love this color combo and it's one of my favorites. I started in the corners, diagonal to each other, and mixed them in the middle.

To compliment to circles from the spray, I added concentric circles with the stamp Dotted Circles with turquoise ink from my stash. I added the cone flower and bee from Heart of Nature Butterflies Bees stamp set.

I colored the flower and the bee with colored pencils. I love cone flowers. They can come in a variety of colors, but red is my favorite, so that's the color I chose. I used brown for the cone. I left the wings of the bee uncolored, so as to pick up the colors of the spray from under it. I colored the bee in yellow and dark brown. I didn't want to use black on the bee as I would lose the eyes if I did so.

After coloring, I wanted to continue playing with circles and color. I chose the Butterfly Trails Mixed Media Stencil and white texture paste. I dyed the paste with Distress Ink Reinker in Wild Honey to match the color of the bee. I randomly added paste through the stencil.

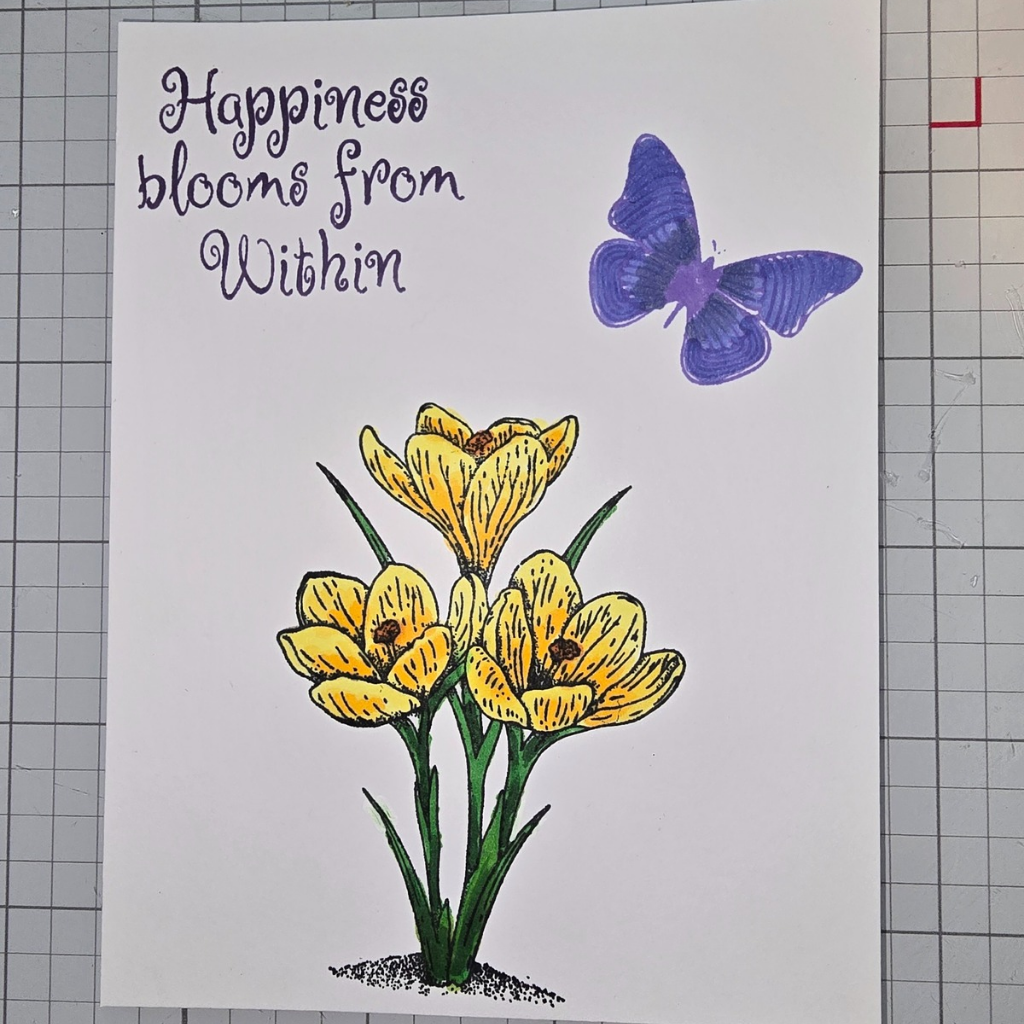
Final card. All I did was add a sentiment that was stamped on white cardstock where the edges had been inked with the same turquoise ink I had used when stamping. I hope you like this card!


.jpg)