Showing posts with label Hello Bluebird. Show all posts

Saturday, May 22, 2021

Hello Bluebird {Blue Skies Ahead, Friend}

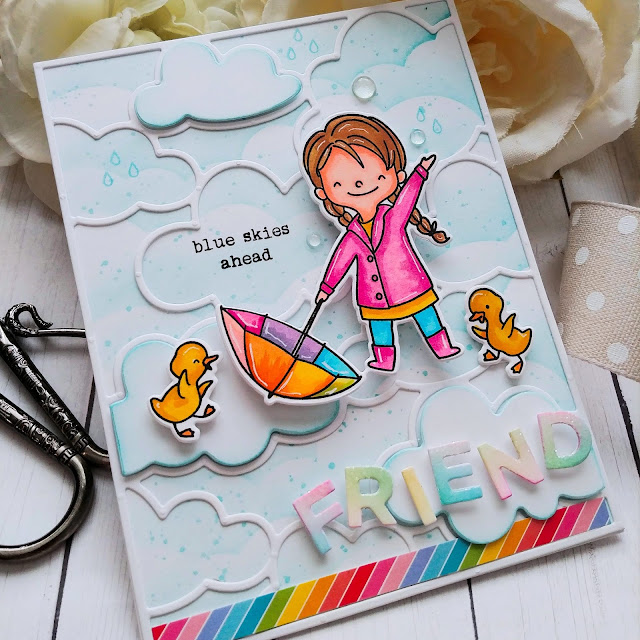
Happy Saturday, friends! I'm sharing a fun card using the new Singing in the Rain stamp set from the latest release from Hello Bluebird! I've been having so much fun as a guest designer for them this month! Utah is in a horrible drought this year, so I'm wanting the rainy vibes! Maybe I should have picked a different sentiment? ha ha! Anyway, this is super fun set and those little ducks are the cutest, don't you think?

To begin this card, I cut a panel of white cardstock measuring 4 1/4 by 5 1/2 inches and then used my NEW FAVORITE Distress ink color: Salvaged Patina! This is the only color that I have bought both pads AND the spray and paint! I'm obsessed with it and have been using it a TON! I used a cloud stencil to add the background clouds and then die cut the new Partly Cloudy Die to glue over the top. I saved a few of the clouds to add back ink to help ground the girl and the ducks. I added a few raindrops here and there using the included raindrop cluster image.

I did some quick ink blending on a scrap piece of cardstock in soft rainbow colors and then die cut the letters to spell the word "FRIEND" using the new Jane Small Alpha Die. I added Nuvo Crystal Glaze over the top and some glitter to the tops for some shine!

The images are stamped in black and then colored using an assortment of alcohol markers and then die cut and added to the panel using foam squares. I also added a small strip of rainbow paper to the bottom for even more color and pattern! Thanks for fluttering by!


Sunday, May 16, 2021

Hello Bluebird {Hello Sunshine}


Happy Sunday, friends! I've had a whirlwind few days taking my cute daughter graduation dress (and other end of year occasions) shopping and then we took Senior Pictures! It's so fun seeing her blossom into such a fabulous young lady! 
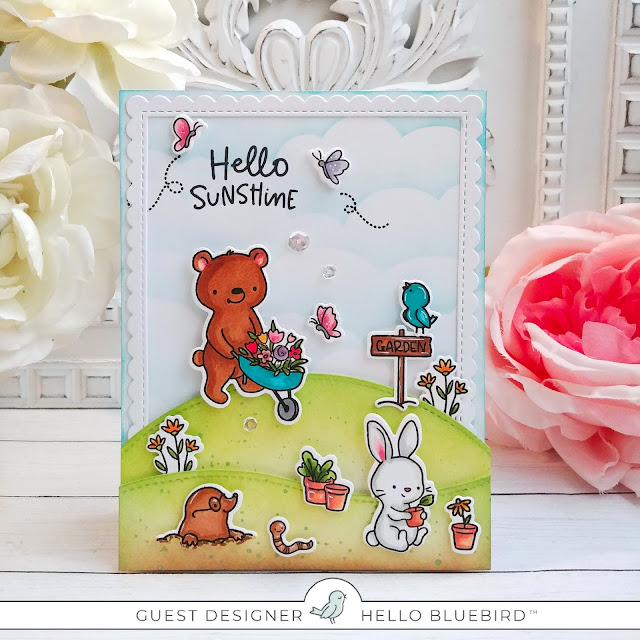
Despite my whirlwind, it was so fun to sit down and create this cute springtime scene using these cute critters from the latest Hello Bluebird release!

This particular set is called Bloom and Grow and has so many cute and fun images to create fun springtime scenes! I stamped them all out and then had fun coloring them with an assortment of Copic markers. I used the coordinating Bloom and Grow dies to die cut the images.

The background was created using Distress Oxide inks and regular Distress inks. I used brown at the bottom because I just HAD to have Mr. Mole poking up from the dirt. Isn't he the cutest?

I love the little bunny planting his/her pots for the season and watching them grow! I seriously love this new set and can't wait to use even more from the new release over the next week or so! Thanks for fluttering by!


Thursday, May 6, 2021

Hello Bluebird Release Day {You Make Me Smile}

Well friends, today is the third and final day of the Hello Bluebird countdown, but it is also RELEASE DAY! Yay! All of the fabulous products are available for purchase tonight including this new You Make Me Smile Word Die. I've paired it with the super adorable new Word Buddies Jungle stamp/die set! Aren't these critters just the cutest? I love that they can perch, hang, hug, and peek over letters and sentiments to create one-of-a-kind creations!

For me, it was helpful to plan out which critters were doing which thing and which direction they were facing so I could plan out my card. I stamped them using black ink and then colored them with an assortment of alcohol markers. I set those aside and got to work on the background.
I did a quick ink blended panel using Broken China, Tumbled Glass, Twisted Citron, and Mowed Lawn Distress Oxide inks and then die cut the panel using the new Gallery Frame #6 die that was showcased on day 1. I didn't get a chance to use it, so I was thrilled to use it for today's card.

This particular die cuts out the frame portion with the little Xs around the perimeter. It also cuts out the inner frame and then the three horizontal rectangles from the center. I chose to omit those rectangles, but set them aside for a future project.

For some added interest, I decided to flip the inner portion so that the colors are opposite from each other. As you can see, the blue outer portion is at the top, but I used the blue on the bottom to keep the visual movement I like.

I die cut the "You Make Me Smile" out of grey cardstock and then mounted it over the top using liquid glue AND mini foam squares. I used the negative portion of the die so I could carefully line up the letters exactly how they are supposed to be.

From there, I added all of the cute critters here and there using foam squares. The toucan/parrot/I'm not sure what he is, has some Nuvo Crystal Glaze over the top of his beak for some shine.

I added some chunky glitter to the top of the YOU letters for some playful detailing and shine! I'll be sharing a few more cards from this release over the next two weeks, so stay tuned for those! Thanks for fluttering by!


Wednesday, May 5, 2021

Hello Bluebird {Together We Can Soar}

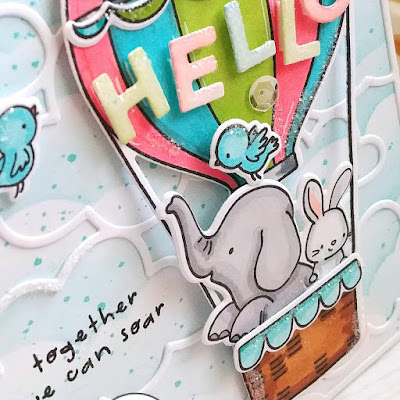
Welcome to day 2 of the previews of the upcoming release from Hello Bluebird! This is probably one of my favorite sets from the new release and it's called Flying High paired with the new Partly Cloudy die and the new Jane Small Alpha! I'm smitten with all of the little critter combinations that you can add to the hot air balloon! I couldn't resist using this sweet elephant and bunny combo, but it was really hard to choose!

To begin, I stenciled the clouds in the background and then added some ink splatter for some added detail. I die cut the cloud background using the new Partly Cloudy die from white cardstock and layered it over the top using liquid glue. I stamped the "together we can soar" sentiment using my mini MISTI inside one of the clouds using black ink.

One tip I'd like to give you today is to die cut the balloon first and then stamp. I did all of my stamping and coloring first, which is what I usually do when I'm coloring with Copics, and then die cut it. This particular die was a little bit tricky to get lined up after the fact, so I would recommend cutting first!

I love that this balloons comes with a few accessories to gussy up the design if you wish. I chose to add the scallop portion above the basket for some added color and detail. 

I also added the bunting at the top of the balloon and secured it with liquid glue. I made certain to use alternating colors so that they wouldn't match the panel of  balloon that they were on top of, if that makes sense!

I die cut the HELLO letters and then added some color using a blender brush. I wanted the colors to be slightly more muted than the balloon so they would stand out. I actually just used the residual ink that was on my blender brushes! ha ha!

I added some Nuvo Crystal Glaze over the top of the letters and then sprinkled some glitter over just the tops to give them a sugared look. I added additional glitter here and there to give the entire card a fun, sparkly look! Join me again tomorrow for the 3rd and final day, which just happens to be shopping day as well! Thanks for fluttering by!


Tuesday, May 4, 2021

Hello Bluebird New Release {You Make Me Smile}

Hello friends! I'm beyond thrilled to be a guest designer for Hello Bluebird this month celebrating their fabulous new release! I'll be sharing projects for the next three days and then a few more over the next month! I ABSOLUTELY love Hello Bluebird and was so happy when my Mom gave me the Fairy Garden Stamp set a few years ago for my birthday. You can see my Hello Bluebird creations HERE that I've made over the years. As you can see, I don't have that many so I am THRILLED to be guest designing this month so I can use the entire new release! Yay!


My card for today uses the Summer Woods Scene Die and the new Pig Out stamp set! What I love in particular about this new set is that it has more than just pig images. I love the sweet bunnies and duck! To begin this card, I die cut the entire Summer Woods Scene out of white cardstock and then used Distress Oxide inks to color the trees, bushes, and grass. I inked up an 8 1/2 by 3 1/2 inch panel of white cardstock using Tumbled Glass Distress Oxide ink to create the sky. Once that was done, I added the trees, bushes, etc. back onto the panel using liquid glue and foam squares.  I spritzed the entire panel with water to get the ink to oxidize and give the card added detail.

I colored all of the critters and accessories using an assortment of alcohol markers and added a bit of white gel pen details to the pigs to make them appear shiny. I used the coordinating Pig Out die set to cut out all of the critters and accessories that I used in this scene.

I added them to the panel using foam squares and liquid glue. Now, I didn't plan ahead of time where I would be putting my sentiment, but rather left it until the end. I decided I wanted to do a direct to paper sentiment in the hollow of the trees. I used one of my MISTIs with broken hinges, which was a MAJOR mistake because I ended up double stamping the sentiment slightly off-set. I wanted to CRY. After my initial shock of thinking I ruined the entire card and trying to add a circle sentiment, I got my wits about me and decided it would be easy enough just to re-cut that one panel, re-do the inking, stamp the sentiment and lay it back in using liquid glue! Crisis averted! I thought I had ruined the entire thing, but you can't tell AT ALL!

It was so fun to dust off my alcohol markers and do some coloring for this sweet summer/spring scene! I'm head-over-heels in love with this release! I can't wait to share what I have made, so make sure to join me again tomorrow for day 2 of the countdown! Thanks for fluttering by!


Wednesday, August 28, 2019

Thank you fairy much!

I fell in love with this adorable Fairy Garden stamp set from Hello Bluebird when it was first released and my sweet mom bought it for me for my birthday! I've been dying to use it and I finally got a chance!

I just love anything Hello Bluebird, but these fairies are some of my favorites! I stamped all of the images that I planned on using and got to work coloring them! I decided to go for a Flora, Fauna, and Merryweather feel with each of them having their own signature color. I didn't use blue, though, since I had decided to make the background blue.

There's something very therapeutic about sitting down to color when there are no time constraints! Once everything was colored, I die cut them using the coordinating Hello Bluebird die set. I set them aside and got to work on the background.

I wanted to create a dusky background so I blended some Tumbled Glass Distress Oxide ink and Faded Jeans Distress Oxide ink onto a panel of white cardstock measuring 4 by 5 1/4 inches. I had originally planned on adding a light coat of Shimmer Spray and then some white paint splatter, but this particular bottle of spray made little sparkle spots everywhere, so I just went with that! It actually created a magical sparkly background that worked out perfectly anyway!

I arranged the flowers and fairies and then decided on the placement of the sentiment. I moved the die cut pieces off of the panel since I hadn't glued them down yet and stamped the sentiment in black using my mini MISTI. I added the die cuts using foam squares for dimension as well as a few sparkling clear rhinestones! I added it to a standard A2 cardbase using foam squares. This was another card that I was able to make "just because" and it was so much fun! I can't wait to use these sweet fairies again! Thanks for fluttering by!

Saturday, October 13, 2018

You bring SUNSHINE!

Hello! It's been a perfect Autumn day and I'm just popping in really quickly this evening to share two more cards I made at the Craft House last month! I think it is impossible to be surrounded by so much rainbow goodness and not come out having made a rainbow project or two! 

I've fallen head-over-heels in love with the Hello Bluebird images and when they were available to play with at the Craft house, I jumped at the chance!

First up is this sweet Elephant card that uses the Elephant Friends stamp set and coordinating Elephant Friends Die. My sweet table-mate, Carol (Hi, Carol) made a super cute card with this same set and I couldn't wait to use it as well. I had borrowed Carol's Cloud stencil from MFT and fell in love, so that was the beginning of both of these cards!

I colored the images using alcohol markers and then die cut them and added them to the cloudy background. The sentiment is heat embossed in silver powder onto a strip of vellum!

I also used some fabulous rainbow striped paper from Lynn! Thank you Lynn! to really bring in some pops of color! I love how it looks as around these sweet images!

I added some clear gems from Studio Katia that I just love! They have so much sparkle!

I created another cloud background and used the Rainy Day stamp set for this second card. 
I couldn't resist having her stand in a puddle created using some Nuvo Crystal Glaze.

I used some pattern paper from Lori Craig for this particular card and the dear heart ended up giving me the entire pad! Thank you Lori! I had so much fun at the Craft House! Thanks for fluttering by!
P.S. join me tomorrow for Day 5 of the Papertrey Ink October release! It's going to be a fun one!