Good morning! I'm excited to be joining in with a special blog hop to celebrate the slightly delayed (but totally worth the wait!) 7th birthday with Reverse Confetti! I have two cards to share with you using new releases!

For my first card - I used the beautiful new Bowl of Blooms stamp set!

I colored it in with watercolors, then die cut with the Coordinating Dies. I also added some white splatters.

Finally, I masked off a line on my white cardbase. blended a bit of Pumice Stone Distress Oxide Ink over it, then removed the mask and added the floral arrangement with foam adhesive, stamping the sentiment underneath.

Next up, I'm sharing a card using the freebie with this release, Friendly Rainbow!
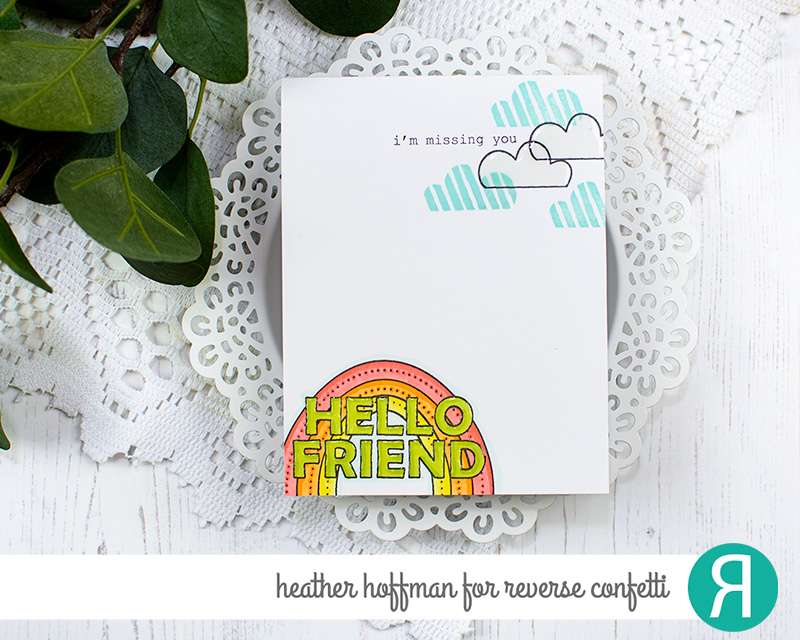
I thought it would be fun to split the images in two different corners of a white cardbase. I stamped all of them off the edge of the card to add movement.

I stamped the striped clouds with Iced Aqua Ink, and stamped the solid letters with Pistachio ink.

Added some Copic marker to color in the rest of the rainbow, as well as add some shading to the solid stamped letters - then coated the letters with a good coat of Glossy Accent.

I stamped my sentiment tucked in the clouds, and also added Glossy Accents to the white clouds to finish off!

Here is the entire blog hop listing so you don't get lost along the way:
Heather Hoffman (you are here)
Carissa Wiley
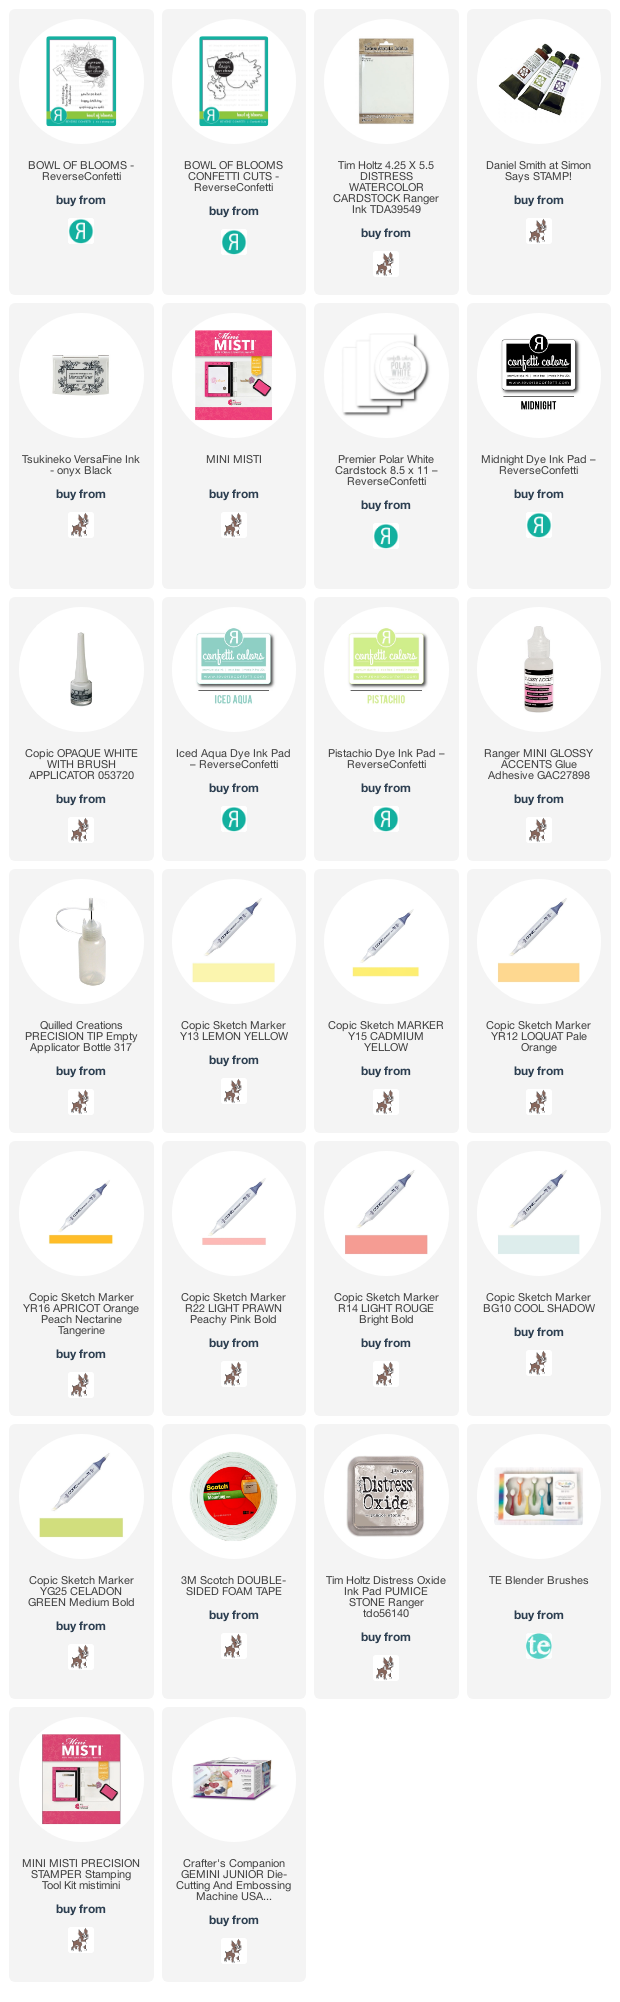
Product links are all below - including affiliate links where possible, which simply means if you use one of the links below that I receive a small commission at no additional cost to you. Thanks so much for stopping by! Have a wonderful day!!!
Product links are all below - including affiliate links where possible, which simply means if you use one of the links below that I receive a small commission at no additional cost to you. Thanks so much for stopping by! Have a wonderful day!!!