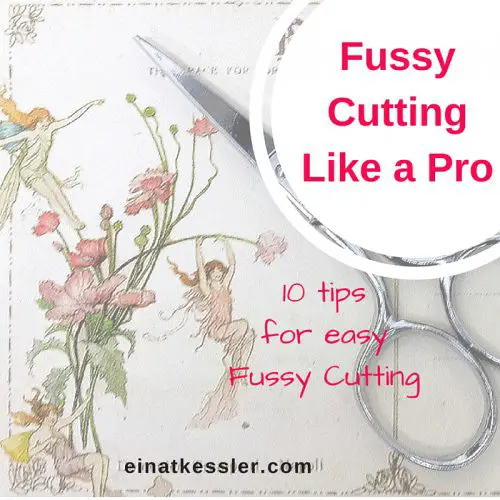
Inside: top 10 tips on fussy cutting like a pro and make your own DIY embellishments
When I go to workshops people always talk to me about the patience I have for fussy cutting. "How can you sit for so long and cut these small images" they ask... "I don't have the patience for that!" I admit fussy cutting might not be for everyone, because it is time consuming and requires patience and you also need good vision so you'll be able to see all the details of the image you want to cut. But if you do want to try it here are a few tips that will help your fussy cutting look professional.
https://amzn.to/41NpSUo
WHAT IS FUSSY CUTTING
Fussy cutting is a popular scrapbooking technique and also a popular quilting technique. Fussy cutting is when you use scissors or craft knife to cut out an image, design or art from a pattern paper or fabric.
Fussy cutting is an easy technique for beginners and advanced and you don't need any fancy tools for it. All you need a good pair of detail precision scissors and a little patience.
WHY FUSSY CUTTING IS GREAT FOR SCRAPBOOKING AND CARD MAKING
Or in other words - why would you want to spend the time on it?
- It allows you to use as many embellishments that you want because you are not limited by the number of pieces in a package.
- You can customize your embellishments to your project's colors, theme and design.
- Using cut shapes gives you the opportunity to control and add dimension.
- Gives you a chance to use your creativity.
FUSSY CUTTING TIPS
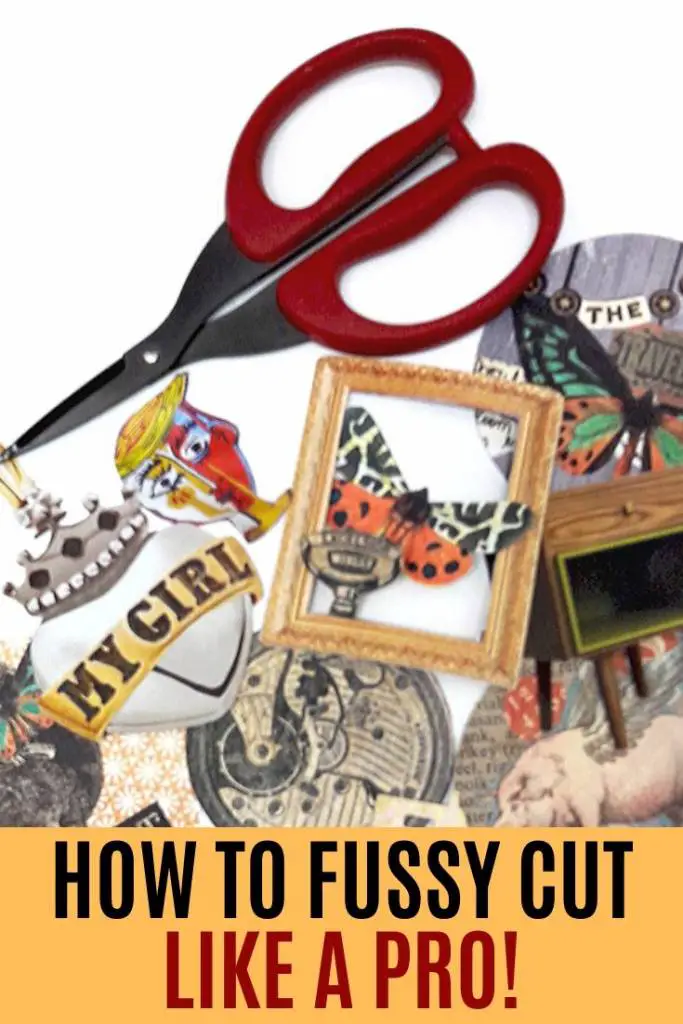
THE RIGHT SCISSORS
First you have to have a good pair of scissors. I'm not loyal to a specific brand but I do look for some important features in my scissors. They need to be small, very sharp, have a pointy tip and good grip. Keep a pair of scissors like that for cutting paper alone and make sure they are not used to cut any other material.
I like to use two types of scissors:
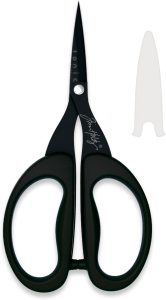
Tim Holtz scissors
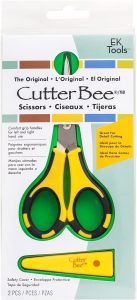
Cutter Bee scissors
Here are the best tips on how to keep your scissors last longer and stay sharp
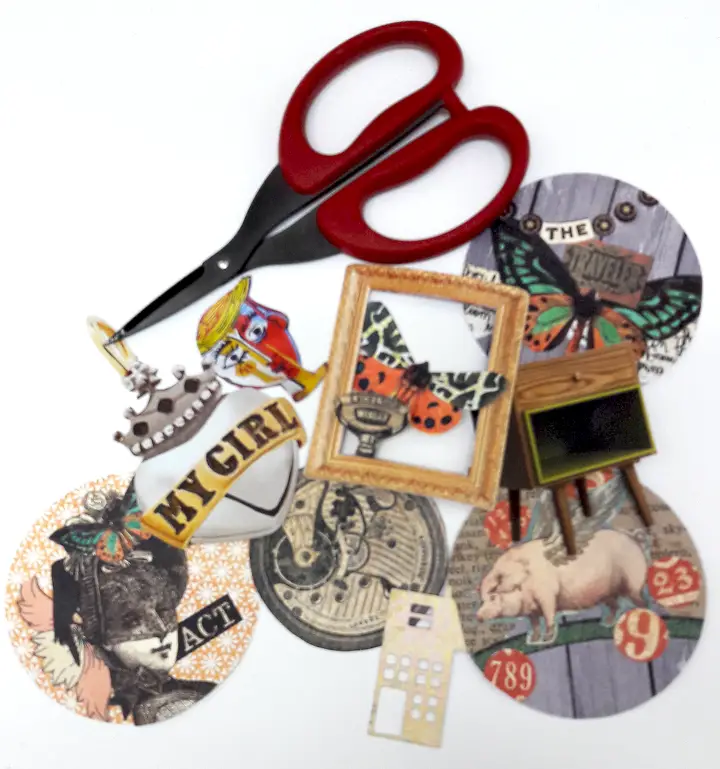
PRE CUT ELEMENTS
When you find a paper with design elements that you want to cut, cut a bunch of them. Go through a stack of papers when you're watching your favorite TV show and fussy cut an entire stash of items. This will be very useful when you want to create a project because you'll have ready cut shapes to use!
HOW TO START FUSSY CUTTING
When you cut start with generally cutting around the image that you want just to remove it out of the paper. It'll be much easier to fussy cut the design when it's not a part of a larger paper.
HOW TO USE THE SCISSORS
Cut with the bottom part of the blade and not the tips. If you cut with the tips you'll get a tare or a bump at the end of the cut where the blade ends. If you cut with the bottom of the blade you'll get a nice clean cut.
CHANGE DIRECTION
When you cut don't just cut all around the image. Start by cutting in one direction and then switch the direction of the cut the other way. This way you'll get nice and clean joins. It also prevents from getting your scissors and paper in uncomfortable angles and bending the paper. You can also alternate the cutting direction by cutting from the back of the paper or from the front.
SMART FUSSY CUTTING
Eliminate parts of the design: while you cut consider eliminating parts of the image that will not damage the design but will make the fussy cutting easier. For example: small leafs, vines or tentacles.
MOVE THE PAPER
When fussy cutting move the paper around not the scissors. Moving the paper will make it much easier and faster to cut especially in the hard to reach places.
STRENGTH OF PAPER
In some cases it helps to strengthen the paper especially when fussy cutting a very detailed image. Apply multi medium on the paper before cutting to strengthen it. That'll prevent the paper from breaking or taring when cutting small or elaborate shapes like thin branches. On larger shapes apply the multi medium after cutting to strengthen the paper. You can also bend the image and create 3D shapes before the multi medium is dry. Once it's dry you'll have a custom fussy cut shape. The multi medium will also glue back parts of the image that did get broken.
ENHANCE BORDER
After fussy cutting enhance the border of the shape with black or white waterproof marker so it'll be more visible against the background or in layering.
PRACTICE, PRACTICE, PRACTICE
Practice makes perfect! Practice, practice and then practice some more. Fussy cutting requires practice and patience to be perfect so don't get discouraged if at first you don't succeed. Find out what the best way is for you and keep on fussy cutting until you cut like a pro!
Sharing is caring!
PIN IT!
Have fun creating!

10 comments on “HOW TO FUSSY CUT LIKE A PRO”
Do you still call it fussy cutting when you leave a little border when you’re cutting out an image? Or is there another term for this?
Still fussy cutting…
Thanks for the scissor tip. I do the rest correct. My thumb will like this!
Einat, thank you for these great tips. I’m 65 & when I entered all of my life I’ve had people tell me that they can’t teach me how to sew, knit, crochet, etc. because I’m left handed. So, I learned to use right handed scissors, as I don’t even think they made left handed scissors when I was 14, I learned how to knit & crochet right handed. Just ten years ago, when I started card making, I was told I was fussy cutting challenged as I am left handed. I admit, I am fussy cutting challenged, but I’m going to use your good information & practice, practice, practice. I came across your blog through Pinterest & I am SO GLAD I did!! I think I’ll go back to 2015 & read your words & watch your videos & learn & be inspired as I’d like to start an art journal. Thanks again!
Thanks so much Einat, I am a card maker and thought fussy cutting would be a great skill to develop. Thanks for recommending the scissors. I will tackle this skill with my can-do attitude.
Sincerely Kathleen
Hello Einatk-I’ve been doing this for quite a while, but did not realize there was a term for it. I have always liked to cut out small items, but you are right, it is not for everyone. Thank you for your tips! Most recently, I have been cutting out butterflies, inked the outside edges with a wide calligraphy black pen, and then applied a small amount of Stickles to the whole surface. That little bit of dampness causes the butterfly to flex a bit, so adds a little dimension. This fussy cutting can become addictive! I look forward to more tips from you! Thank you – Margie
Thank you Margie!
Great tips, thNks!
Thanks Bonnie!