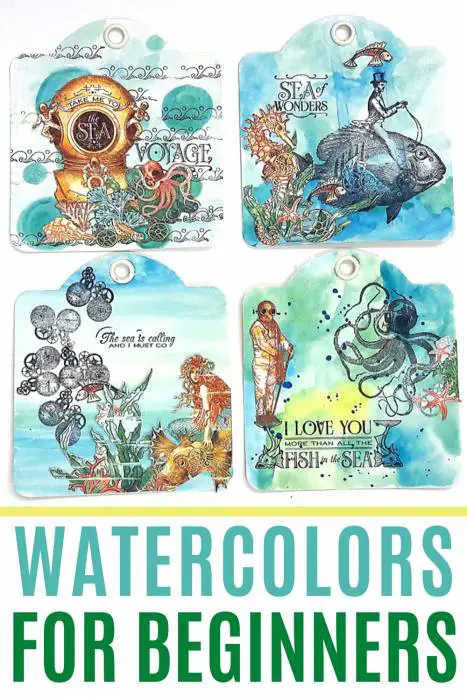
Inside: 4 ways to make watercolor backgrounds for beginners
Ny favorite roller coaster is Thunder Mountain in Disney World. Not because it's the best in the world but because it's mild and not too scary. Yes, I don't like roller coasters, they scare me so I don't get up on them, I only compromise on the less scary ones. But when it comes to crafting I don't get scared I can angry. If there is something I never did because I was too scared to fail at it I usually do it anyway because I don't like failing and I don't like to miss out.
This is what happened to me with watercolors. I was too scared to try them at first because I don't know how to draw and I never learned any watercolor techniques. But that made me mad...why shouldn't I give up on this unique paints? I shouldn't!
HOW TO USE WATERCOLORS WITHOUT ANY SKILLS
So I started playing with watercolors and found out a few things:
- You don't have to know how to draw to use them.
- No special techniques required for watercolors (although you could learn some if you want)
- They are much more easier to use then you think
- Watercolors are a very forgiving paint that will let you get away with almost anything
All you need to start are three things:
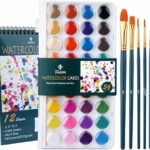
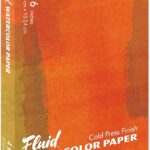
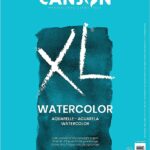
- Thick paper: it can be watercolor paper, cardstock ot other thick enough paper that will not curl or tare when you use this wet meium on it.
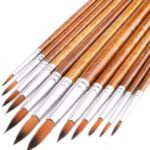
- Water brush: you can use a plain brush dipped in water or a water brush that has an attached little container you can fill with water.
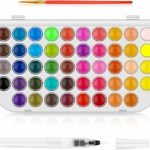
- Watercolors: I have a very modest set so you don't really need to start with a fancy expensive set.


WATERCOLOR BASICS
There are two basic ways to use watercolors:
WET ON DRY
Using a wet brush on a dry paper is an easy way to apply the colors on the page. In this technique you'll get vibrant colors but you'll notice they less flow on the paper.
Here's how to do it:
- Dip the brush in water or wet the tip by squizing the container.
- Load the brush with color.
- Apply on paper.
WET ON WET
Using a wet brush on a wet paper is when you apply the paint on a wet paper. In this technique the color will flow more smothly on the paper and blending colors directly on the paper will be easier.
Here's how to do it:
- Dip the brush in water or wet the tip by squizing the container.
- Apply water to the paper to wet it.
- Load the brush with color.
- Apply on paper.
Try both techniques to see which technique you like and is more comfortable for you.
HOW TO MAKE WATERCOLOR BACKGROUNDS
When you are just starting with watercolors the best and easiest way to use them is to make backgrounds.
Here are four easy watercolor background techniques:
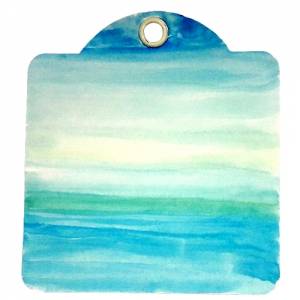
GRADUAL COLORS
One of the easiest techniques to do with watercolors is to blend and mix them to make more colors. You can mix the colors outside of the page or directly on the page while applying them. In this technique we create a gradual effect by blending the colors directly on the paper.
- Load wet brush with paint.
- Apply on paper in a small horizontal section.
- Load brush with another color and apply to paper while slightly overlapping first color. When the two colors touch they will blend together to form a new color.
Tips & Tricks
- Make sure your brush is always wet.
- Work on dry paper for more control because when working on wet paper the color tends to spread more.
- If you want to make an Ombre effect from light to dark start with a light color and add darker colors as you progress.
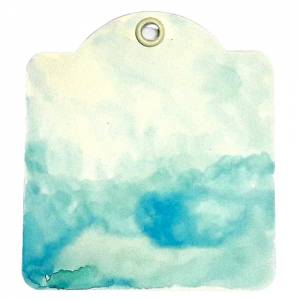
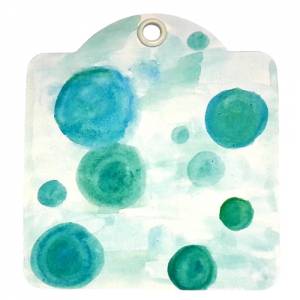
CLOUD EFFECTS
This technique is very similar to the first technique with one difference the movement of the brush.
- Load wet brush with paint.
- Apply to paper in a circular motion.
- Repeat with other colors and blend them as you apply the paint.
Tips & Tricks
- Load the brush with more or less water. This will make the paint bolder or lighter and create more shades.
- Use about 3-4 colors. If you use too many colors there is a danger of getting a "mud" color.
LAYERED BACKROUND
Creating a layered background means that you build layers of color and pattern on the paper.
- Apply the first layer of paint and wait until it's completely dry.
- Add a second layer that will not blend with the first one. You can add more layers until you are happy with the result.
Tips & Tricks
- Make the first layer blended colors and the second layer patterns so they will both be visible.
- Load the brush with more water when applying the first layer so the colors will be lighter. Load less water for the second layer so the color will be bolder.
- Make any type of pattern for the second layer: circles, lines, dots etc.
SPLATTER AND DRIPAGE
In this technique you make the properties of watercolors work for you. By controlling the amount of water you load the brush with you can make the paint drip or splatter.
- Load brush with a lot of water.
- Load brush with paint and squeeze the brush on top edge of paper.
- Tilt the paper and let the paint drip.
- After the paint dries reload the brush with a lot of water and paint and ten splatter the paper by gently tapping on the brush.
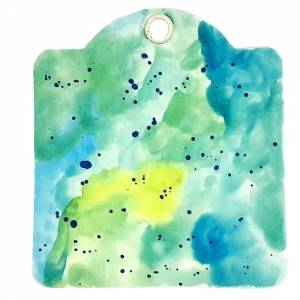
Tips & Tricks
- Experiment with different amounts of water and paint to see how fast or slow the paint drips.
- Change the direction of the paper so the paint drips from side to side and not only from top to bottom.
- Make the splatter with darker paint so it will be visible on the background.
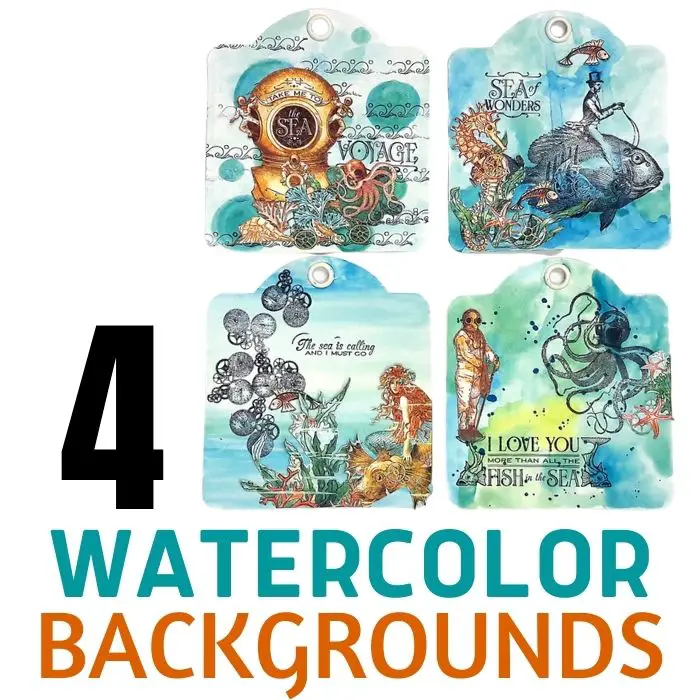
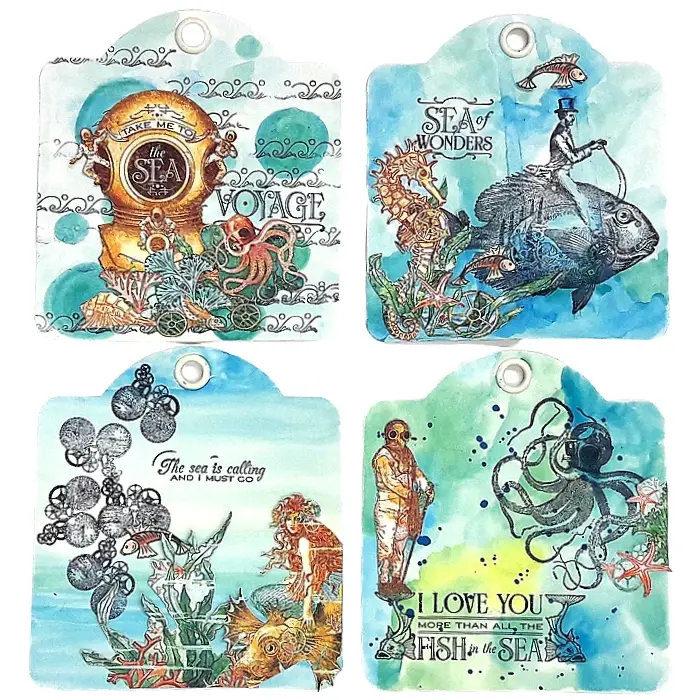
MAKING WATERCOLOR BACKGROUNDS TAGS
Making the watercolor backgrounds on tags allows you to add more elements to them. I added stamped images and some fussy cutting images from pattern papers.
Do you want to learn more about how to work with watercolors and how to use them on art journal pages? Check out the FREE online class: Watercolor Art Journaling In this class you'll learn how to make backgrounds, page elements, accents and techniques with watercolors. Take the week free trial and you can take this class for FREE!
Looking for more watercolor background ideas? Check out this video tutorial.
Sharing is caring - PIN IT!
Have fun creating!


3 comments on “4 EASY WAYS TO MAKE WATERCOLOR BACKGROUNDS FOR BEGINNERS”
The only time I use tags is for Christmas Presents, however you have given me a lot of inspiration for Christmas tags. Never seem to have enough. Thank you for the ideas.
Linda.
These tags are just beautiful! Thanks for te tutorial and the inspiration!
Thanks so much Tammy