Inside: how to age paper - techniques to make paper look old
I love craft materials with a vintage and aged look especially paper. Waiting until paper gets to look old on its own can take a very long time so other than buying it in the craft store the best way to have aged paper is to make it yourself.
WHY AGE PAPER
Although making your own craft paper supply can be time consuming using different techniques and materials to age paper yourself is a good idea for several reasons:
- Age any paper you want without depending on the selection the store has.
- Control the color and hue of the paper.
- Decide if and what texture to add to the paper.
- Make large number of aged paper.
- Cost effective and very cheap.
- Use materials you already have at home and in the craft room.
WHAT TO DO WITH AGED PAPER
When you use aged paper in your crafts you automatically give it a vintage look or a Shabby-chic look. These craft project feel comfortable, cozy, and homey. The look is vintage and worn (the look of old cracked china and furniture that’s been lightly sandpapered). This paper will look great on heritage scrapbook layouts, steampunk projects, art journal pages, card bases and more.
You can use these papers for many types of crafts:
- Background for scrapbook pages
- Vintage and shabby chic card bases
- Wrap mini album covers
- Mat for heritage photos
- Collage papers for art journals
- Tags
- DIY embellishments like flowers and other punched shapes
HOW TO MAKE PAPER LOOK OLD
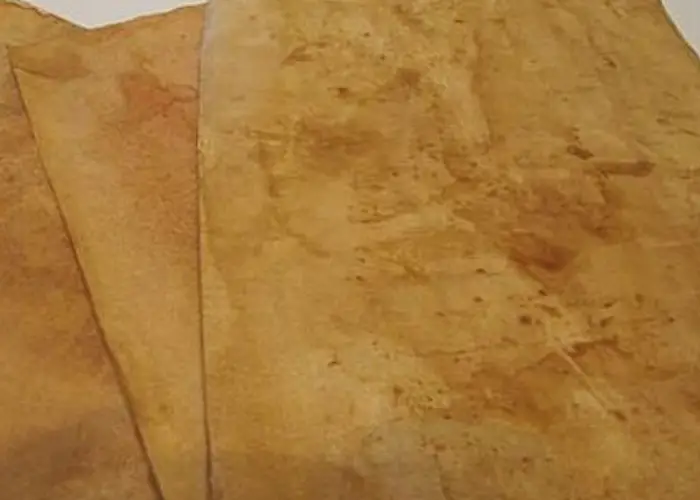
If you want to give a pristine white paper a browned, unevenly-colored aged appearance and parchment-like texture you need to use an aging technique. All techniques will give the paper a sepia tone color in different degrees that is typical of old papers.
The first step before each of the following techniques is to scrunch the paper and then open it flat. All the wrinkles created will give the paper the used and old texture you want as well absorb the liquid or paint better.
There are many techniques to change the look of your paper to old and used but the most popular are:
- Coffee and tea dye
- Distress ink
- Coloring the paper with spray or paint
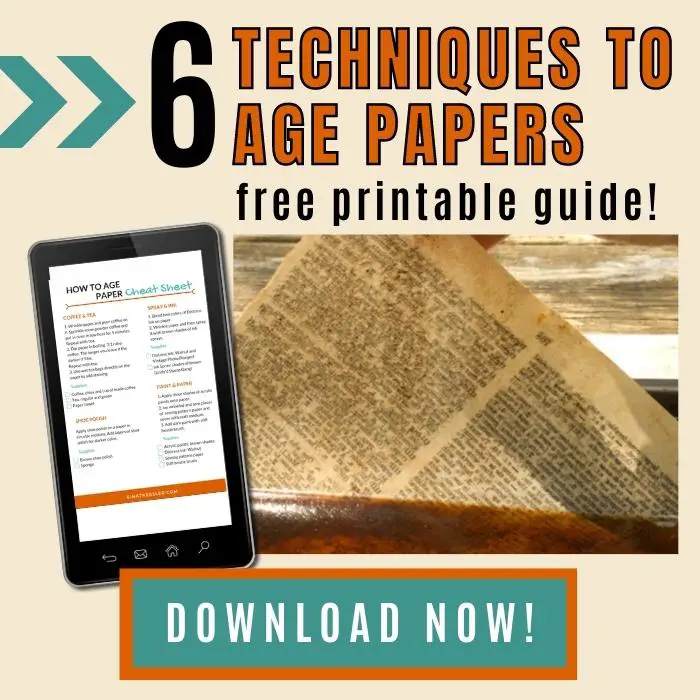
In order to make it easier for you to master all the different technique I made a printable guide to download.
Click here to get it sent to your email right away!
AGE PAPER WITH COFFEE
I'm not a coffee drinker but this aroma filled powder can be much more than just a beverage, it can be used to age paper and give it a brown antique look. There are two ways to achieve this effect:
PAINTING WITH COFFEE
Instead of using ink or paint use one of the most common ingredients in almost every house - coffee.
Do this:
- Then take about 1/4 cup of hot coffee, spoon onto the paper and spread evenly on the paper.
- You can then add a bit more color by taking dried coffee and sprinkling over the wet paper.
- Remove the excess liquid with a paper towel and put into the oven to dry. Put the oven on the lowest temperature and leave for about 5 minutes keeping an eye on it the entire time.
DIPPING IN COFFEE
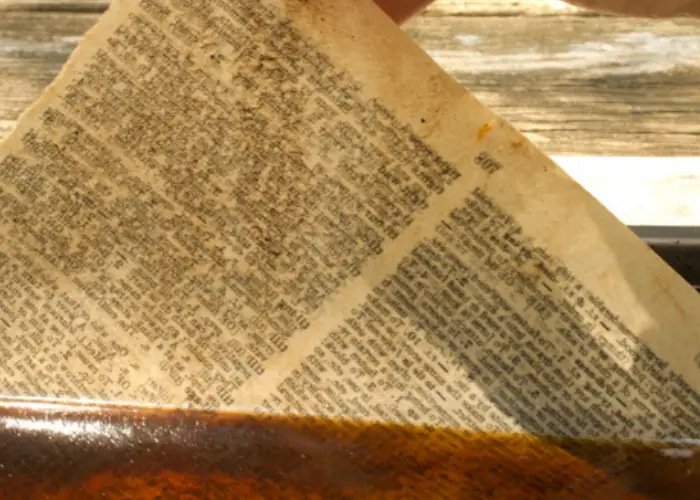
Dipping paper in coffee is also known as coffee staining is a technique that slightly changes the color of the paper. This effect is less bold then painting a paper with coffee.
Here's how to do it:
- Make coffee with boiling water and 3:1 ratio of coffee.
- Fill a container large enough to hold your paper like a baking tray with coffee.
- Submerge the paper in the liquid.
- Hang the paper on a clothe line or put it on a rack with paper towel underneath to absorb the excess liquid.
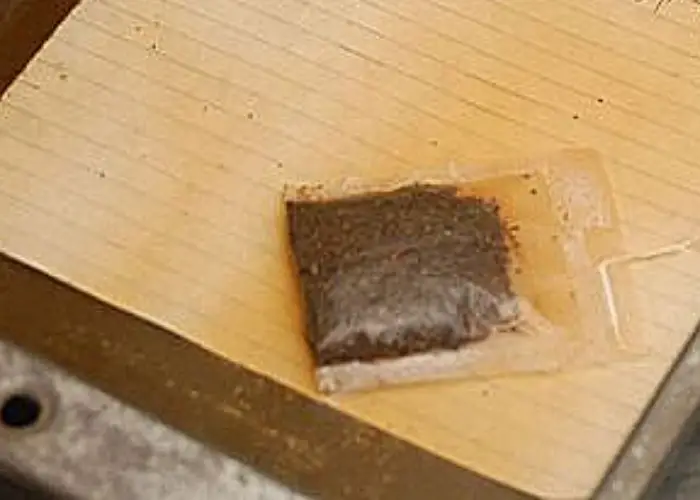
AGING PAPER WITH TEA
Tea staining will give you a lighter color and more subtle result than coffee. You can use the tea bag itself to stain the paper directly or dip the paper in the tea. You can dry the stained paper in the oven or in a sunny place.
Here's how to make paper look old with tea:
- Put one tea bag in a cup for light color and two bags for darker color.
- Use any type of tea but black tea is the best.
- Pour the hot water over the tea and allow it to steep for about 5 minutes.
- Another option is to dab one of the tea bags over the paper. Holding the tea bag by the top, blot it down onto the paper. Continue doing this until you've covered as much of the paper as you want. If the tea bag starts to dry out, dip it in the mug of tea to wet it again.
- Dry the paper outside or in the oven.
MAKE PAPER LOOK OLD WITH INK
Distress Inks are a great way to give a paper a vintage look because they easily blend and spread on paper.
Do this:
- Use more than one shade of brown ink like Vintage Photo and Walnut for this technique. The lighter colors you apply the lighter your paper color will be.
- Spread the inks on the paper using a sponge or a blending tool in circular motion.
- Start from the edges of the paper and blend the colors moving towards the center.
GIVE VINTAGE LOOK WITH SPRAY
Another technique is to spray the paper with sprays. Make sure to use ink sprays or other types of spray that are transparent and not opaque so the paper will show through and not be covered by the spray.
Here's how:
- Spray the page with a combination of at least two shades of brown.
- An optional step is to spread the spray more with a baby wipe.
- Dry the paper outside or in the oven.
AGE PAPER WITH PAINT
To achieve an aged effect with paint you would need a few shades of brown and to work in stages. This technique might also require a little practice and knowledge of using a brush.
Here's how to do this:
- Apply at least three different shades of brown acrylic paints.
- Add the paints while moving the brush in all directions.
- Work in layers: add light colors on dark colors and dark colors on light colors allowing the brush strokes to show.
- Keep working until you're happy with the result.
- Let it completely dry.
FINISHING TOUCHES TO THE PAPER
To finish the paper you can add a few more final touches:
- Burn the edges of the paper.
- Ink the edges with a dark ink.
- Add stamped images or text.
- Wrinkle again to add extra texture.
- tare the edges to enhance the used old look.
So many fun techniques to try. I hope you'll try at least one, because the effect is worth it!
Do you have other techniques or ideas to distress or age papers? Share in the comments!
Sharing is caring - PIN IT!


40 comments on “HOW TO AGE PAPER – 6 EASY TECHNIQUES TO MAKE PAPER LOOK OLD”
I love this blog post! I have been trying to age paper for years and this is the best advice I have found.
I love this blog post! I have been trying to age paper for years and this is the best advice I have found.
I love this blog post! I have been trying to age paper for years and this is the best advice I have found.
I purchased souvenirs before from some museums, like the I have a dream speech, declaration of independence, etc. and they have them printed on this sturdy paper that has a very crisp and crunchy feel & sound, not so much the look, the look is a tan brown. Does anyone know how to get this effect and what type of paper to use in the first place. It is very neat, it rolls and stays rolled too. Thank you.
It isn’t an “effect,” it’s a specific type of paper, called parchment. You can find it at art stores and online. You can do aging techniques to other types of paper to get the look, but you won’t get the texture and sturdiness unless you use the right kind of paper to start with, which doesn’t need aging, other than maybe roughening up the edges to make it look more hand-made. Parchment paper typically comes in white or tan.
I use tea or coffee mixture, bingo marker ink (colours are great) scrunch up my papers, dip in mixture, let liquid drip dry a little, scrunch a little again, toss balls onto large cookie sheet, place in low oven until dry, then iron out pages, this way I get about 24 or more pages at a time. Then whatever color pages are, I rub edges with corresponding colour ink pads.. I also use used dryer sheets, paper towels, coffee filters and paper napkins..
I keep seeing the comments about “Matte Gel Medium” is that Mod podge or something different?
Gel medium is not Mod Podge. It’s an acrylic medium that can be used like Mod Podge to glue and seal.
Great techniques. Be aware that the tannins and acids in coffee and tea will accelerate paper destruction so don’t do this with anything you want to last a long time. Otherwise it’s beautiful!
I read that adding baking soda will reduce the acidity and help preserve the ink.
Thanks for the telling how this was done new to all this. My husband died May 23 2020, I want to make a junk journal,and put love letters in it that he wroteme through the 19 years we had together , again thanks Linda Alderman.
What an amazing idea!
I found mine to curl up to where I couldn’t use them,!,
They curl because of the moisture. When the paper is still wet place in a towel and under something heavy. That will prevent the curling
I iron my papers while they’re still a little damp. The random dyed marks from the paper having been wrinkled still show, and ironing gives the paper a yummy crunchy sound and texture
I have over 500 pages printed out on genealogy all ready. I am going to make my own hard covers and make a book for each surname. My question is, can I make the pages look aged after I have printed on them already? I would hate to have to reprint all that information again…
If you use a wet technique I believe the ink will smear. Try using Distress ink instead to protect your printing. Another thing you cn try is to seal the paper with gel medium. But try that on a page you don’t need just to check if i works.
going to try this as I always have coffee and tea. I have some Hibiscus tea that is red. That shoud be interesting.
Can I modge podge the paper after I age it with coffee? I’m going to use seed book page’s cut in strips and put on blown out goose eggs.
Yes, but I recommend gel medium instead it’s less sticky and dries clear.
Can you print on the paper after putting it in the coffee?
Yes as long as it is completely dry
Very interesting ! About 10- 15 years ago I had burnt the edges of paper to make a painting ! Now it has withered with time . I could have protected with glass frame but esthetically it did not appeal to me! My question is what quality of paper should be used & how to protect the painting made with it . Thank you for paper aging technique !
I always use cardstock and I don’t protect it at all. If you want you can cover it with a thin gel medium as a protective layer.
Really nice , I have used the techniques doing my journal .
Here- https://lovejournaling.wixsite.com/journalwithme
It was OK it worked well thx!!
Great Sara!
Wow.. and every day I toss out left over coffee. Now it has a purpose! Thanks Einat!
You’re welcome Bonnie!
Nice technique of tea staining
Thanks! And it’s so easy too 🙂
Years ago I aged heavier paper by coating it unevenly with a solution made with interestingly colored soil gathered on my travels. (Clay comes in many shades). Once the mud was nearly dry I rinsed the paper off and let it dry out. Once dry I coated the both sides sheets with Matte Gel Medium and used them in mixed media pages for a travel journal. It was fun to have a tiny bit of local Earth from each place visited embedded within its page of the journal.
What a great idea!
I like to use stamp inks and beauty blenders. I take ink and water it down slightly and put it on the bottom of a coffee cup to add stains on the paper
That’s great!
That is so clever!
טוב לראות אותך שוב!
Thanks!
Thanks Einat
Thank you Lori!