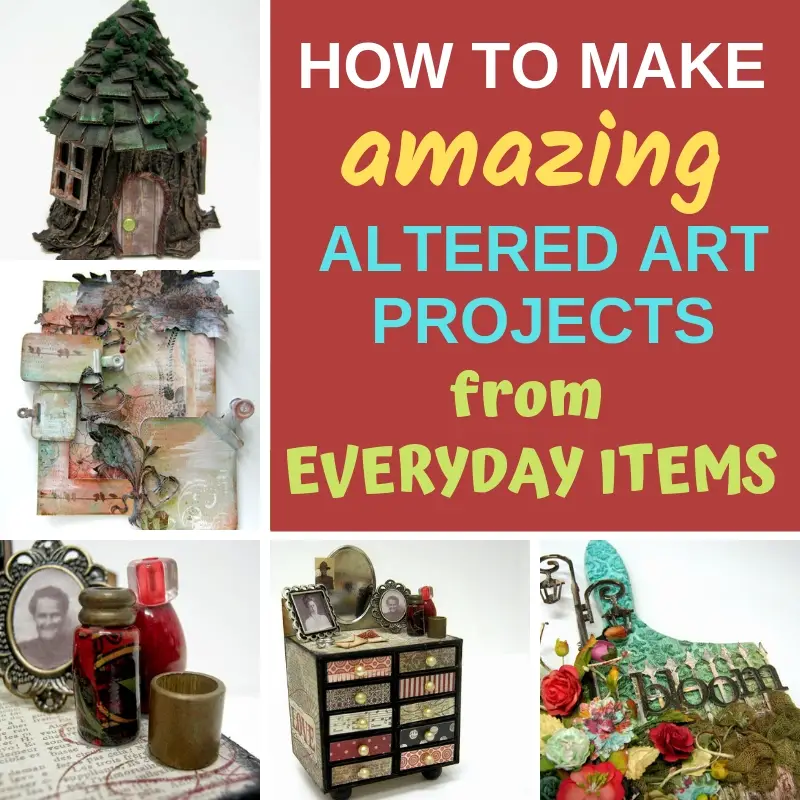
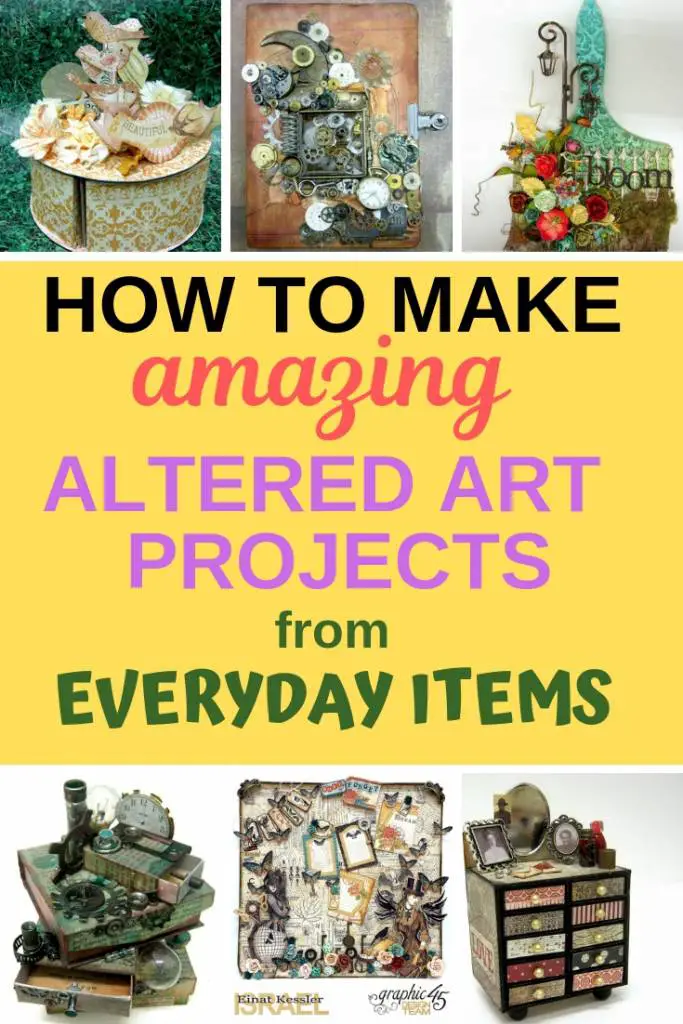
Inside: how to make amazing altered art projects from stuff you have in your house!
A wise man once said: creative people can make art from anything and I happen to agree. Us crafters, designers, artists (or any other name you want to use) see a potential craft project in things other people don't. How many times did you see an item thrown out that you thought you could transform to something beautiful? I bet more than once...
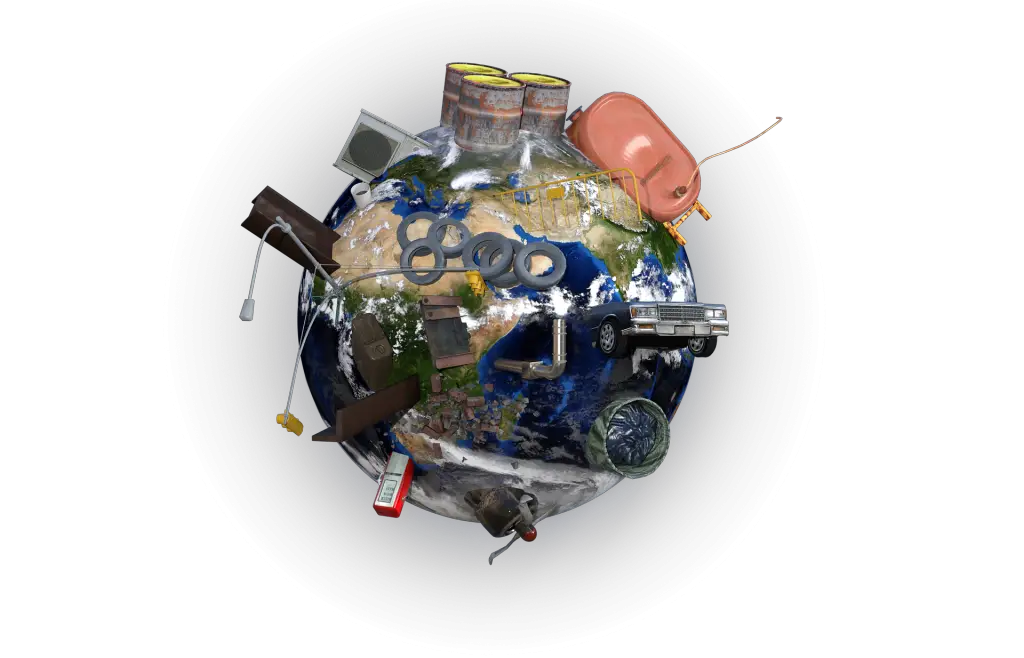
Creating art from everyday items and turning household objects or even unused or empty things to something beautiful is called altering or up-cycling. Altered art is a transformation or 'alteration' of ordinary, everyday objects into decorative pieces using a wide variety of different techniques and materials. It describes a way of recycling, and giving new life to all sorts of commonplace and functional (or perhaps even useless) items.
WHY CREATE ALTERED ART
Once you get the idea of looking at things to see if they can be changed (in appearance or use), it almost becomes a way of life. Here are a few reasons why you should make altered art projects:
- It's a very green way to live, in that you are recycling objects that may have wound up in landfill.
- Re-purposing objects in your environment in an imaginative and decorative way helps you to be creative.
- You save money on craft supplies because you re-use items you already have.
- It's fun!
HOW TO GET STARTED WITH ALTERED ART
FIND AN OBJECT
First you need to start with finding the object you want to alter. When choosing your object you need to consider a few things:
- WHAT YOU WANT TO MAKE. You need to match the item to the project, for example: if you want to create a mini album you can't use a plastic box.
- MATERIALS YOU NEED. When making altered art projects you work with different materials like wood, plastic, metal and paper. You need to use the right supplies for the materials you're working with.
COLLECT OBJECTS THAT CAN BE ALTERED
I recently got a comment on my YouTube channel saying they are jealous of my steampunk stash and they wish they had a stash like that. I do have a large stash but it's because I've been collecting stuff for a long time. Where ever you go always remember your stash in the back of your head. You'll be surprised at what you find. Broken clocks and jewelry, used card lights, old keys, postcards and old photos and rusted screws or hinges all can be found in your friends and family's homes. Also be on the lookout for empty boxes and tins, used disks or coasters and other items you can alter.
THINK OUTSIDE THE BOX
Even the most unexpected items can be altered. When you get an idea for a project before you go shopping for supplies think if you can alter something you already have or reverse your creative process and first think about a cool object to alter and then think what kind of altered art project you can do.
HOW TO MAKE AN ALTERED ART PROJECT
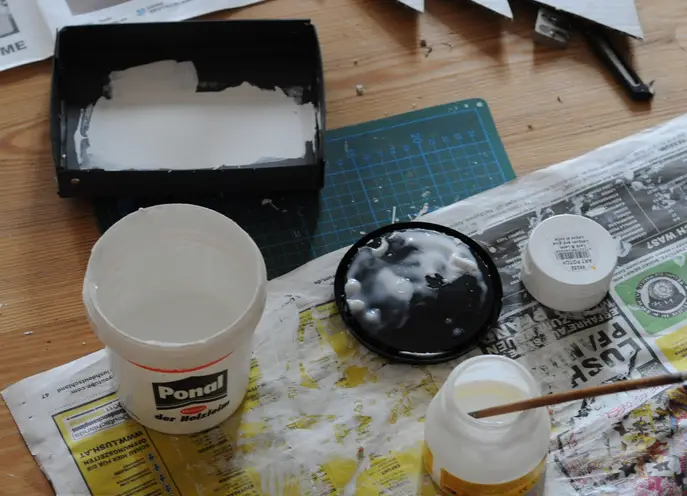
PRIME THE OBJECT
Since altered art is all about using everyday items most of the time it means that the object is already painted, coated or finished. The first step in starting an altered art project is to prime the object. The best material to use for priming is gesso. Gesso will cover all surfaces and prime them for any paint or medium you want to work with.
DECIDE ON DESIGN
When giving an object a new look all rules of design apply. You need to decide the style of your altered art project. Do you want it to be clean and simple, steampunk,mixed media etc. The style will determine the materials and colors you will use.
TEXTURE AND COLOR
- Add texture with modeling paste and stencil or by attaching flat objects like chipboard pieces or metal to the surface of the object.
- Cover with another layer of gesso to prime the project for paint.
- Paint the altered art project with acrylic paints or sprays to cover it with paint.
EMBELLISH
Add embellishments to your project. Altered art projects are usually 3D so you can embellish them with any type of embellishments without worrying about bulk or size.
PAPER ALTERED ART PROJECTS
When creating a paper altered art project the process will be slightly different:
- Decide on colors of your project and pick corresponding papers.
- Cover project with paper.
- Embellish.
OBJECTS FOR ALTERED ART PROJECTS
- Old or scratched CDs/DVDs
- Matchboxes and other boxes like jewelry, shoes and cereal boxes
- Picture frames, old window frames (maybe to make them into newly decorated picture frames?)
- Photos themselves. Use manual techniques or digital ones
- Old post cards or greeting cards
- Buckets, tins and flower pots
- Mirrors
- Shoes, purses, clothing. Alter them with beads, shells or fabric paint
- Old Crockery and cutlery. Broken crockery makes wonderful mosaics and old cutlery can make a mobile when you bend it into the desired shape with pliers
- Tissue boxes
- Birdhouses
- Empty plastic chocolate boxes
- Brushes
- Glass bottles, jars and vases
- Metal objects like keys, hinges and locks
- Dolls and toys
- Jewelry and beads
- Books
- TP rolls
ALTERED ART PROJECT IDEAS
If you never tried altered art before give it a try, you'll have lots of fun creating new things from old stuff you don't need!
SAVE it for later - PIN IT!
Have fun creating!


8 comments on “HOW TO MAKE AMAZING ALTERED ART PROJECTS FROM EVERYDAY ITEMS”
Hello Mrs Kessler , I was wondering if you could r recommend a good embossing Machine
You don’t use a machine for embossing. You probably mean die cut machine where you can also use embossing folders. I use Sizzix Big Shot
Cool projects and ideas
Thanks Lori!
I would love to know how to make the 10 drawer lil dresser. Do you have any instructions for that?
There’s a link to it in the post: Matchbox vanity
Great ideas, thank you
Thanks Lori