Fabric Halloween Banner Tutorial and Free Pattern
Hi! I am so excited to be here with you! My name is Amy Chappell and I blog over at Ameroonie Designs, where I share lots of different tutorials, mostly involving sewing. I love working with fabric and being inspired by all the great designs that are available.
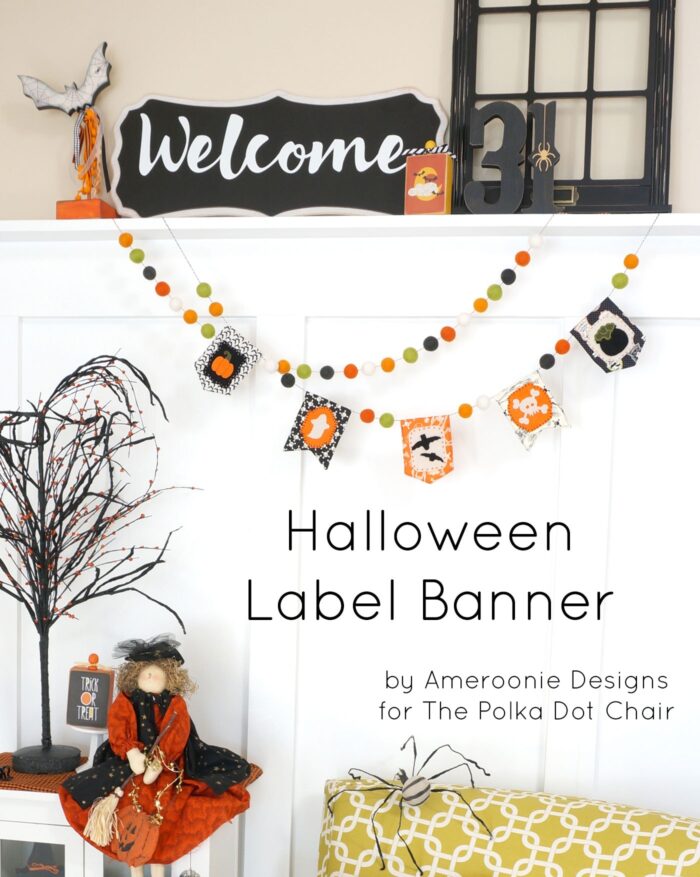
For this project, I was inspired by one of the prints in Carina Gardner’s new Halloween line Eek! Boo! Shriek! and I decided to design some badge looking patterns to go on a new mini banner.
I had so much fun making them up, and I hope you will too!
Fabric Halloween Banner Tutorial:
Supplies:
-Felt
-Freezer Paper
-Scissors
-Embroidery Thread
To start, you need your pennants. You can find my tutorial for them over on my blog, or you can make your own version. You will need at least 5 pennants.
Next, you will need to print off the pattern sheet – CLICK HERE to download it.
Construction:
Gather your felt. Then you need to transfer the pattern onto felt. My favorite way to do this is to trace the pattern onto freezer paper.
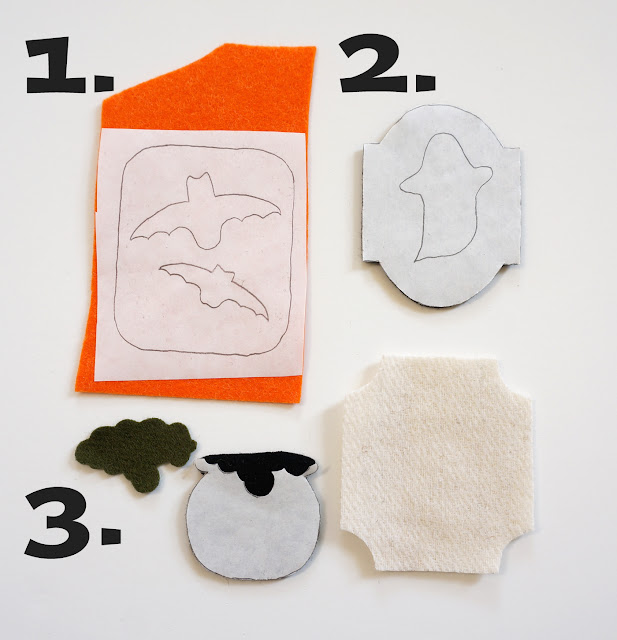
1. Trace the pattern onto the dull side of the freezer paper. Place your pattern shiny side down on your felt and press with a warm iron.
2. Cut out the label shape. Now, you can peel off the freezer paper and trim off the extra paper around the next element in the design, then press the freezer paper onto the next color you need. In this example, I would press the ghost shape onto white felt.
3. Repeat step two for any other elements you need to cut. You are basically working from the outside in. Keep reusing the freezer paper until you have everything you need cut out.
**Some tips when cutting out felt- especially small detailed shapes: Use SHARP scissors that will make nice clean cuts; When cutting, move the felt, not the scissors; and last- try to keep one continual cut going, don’t take the scissors out, just slightly open them up again and slide the project part way out then start cutting again, this will make sure you don’t have any divots or jagged edges in your shapes.
Embroidery:
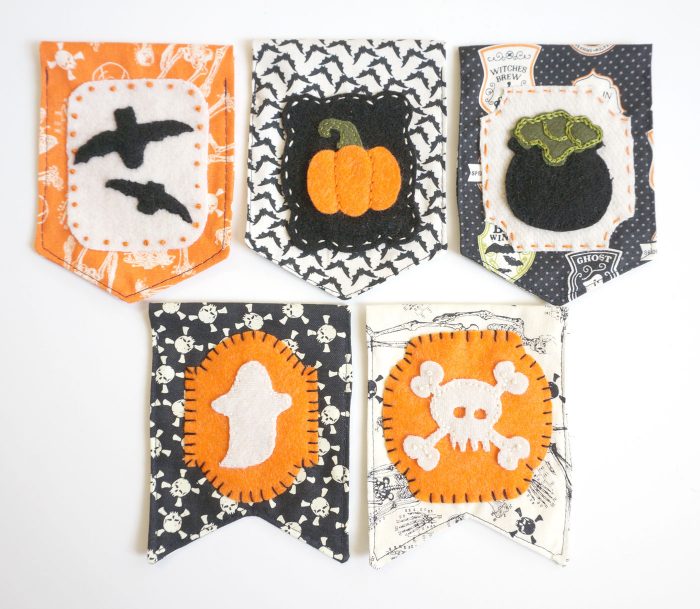
Now, you can take your embroidery floss and add details to your badges. Stitch down the shapes to the badges, and then use decorative stitches to add the badges to your finished project. Or- if you want to make this a no-sew project- just use tacky glue to glue your shapes onto the badges and the badges onto pennants- you can make the pennants out of felt too, so you don’t have to sew those either if you like.
You can see I used backstitch, running stitch, french knots, chain stitch and a faux blanket stitch on mine. I love the extra detail the stitching adds.
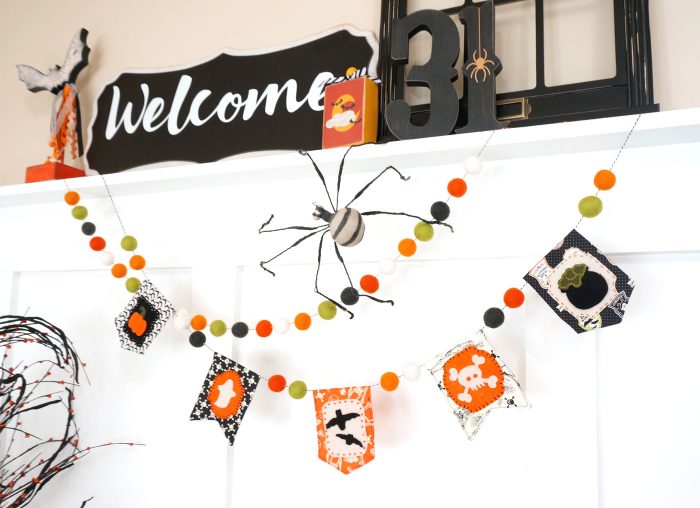
The last thing to do is string them up. For mine, I used baker’s twine and felt balls, but you could use yarn, ribbon or jute too! The possibilities are endless. I hope you have fun with these badges, I can’t wait to see your banners!
Other Fun Halloween Projects:
Be sure to stop by Amy’s Blog and check out some of the other fantastic Halloween Craft Ideas that she has shared!
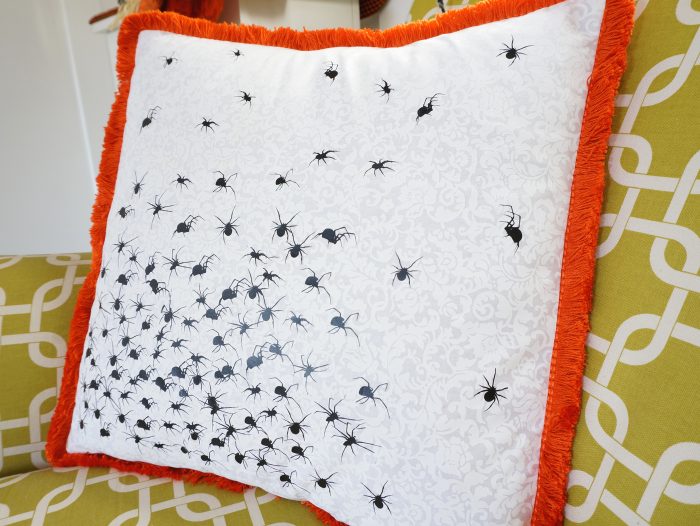
Spider Swarm Pillow
About Amy:
Hi! My name is Amy Chappell and I blog over at Ameroonie Designs. I currently live in Utah with my husband and 6 kids. I love being a mom but needed an outlet that would give me something to do that stayed done, enter sewing and creating. First and foremost, I love the satisfaction of taking fabric and ideas and making something new. I also love that blogging has given me a way to meet new people and find a community of amazing people who love fabric and sewing as much as I do.
xoxo,
Amy
Ameroonie Designs
www.amerooniedesigns.blogspot.com

