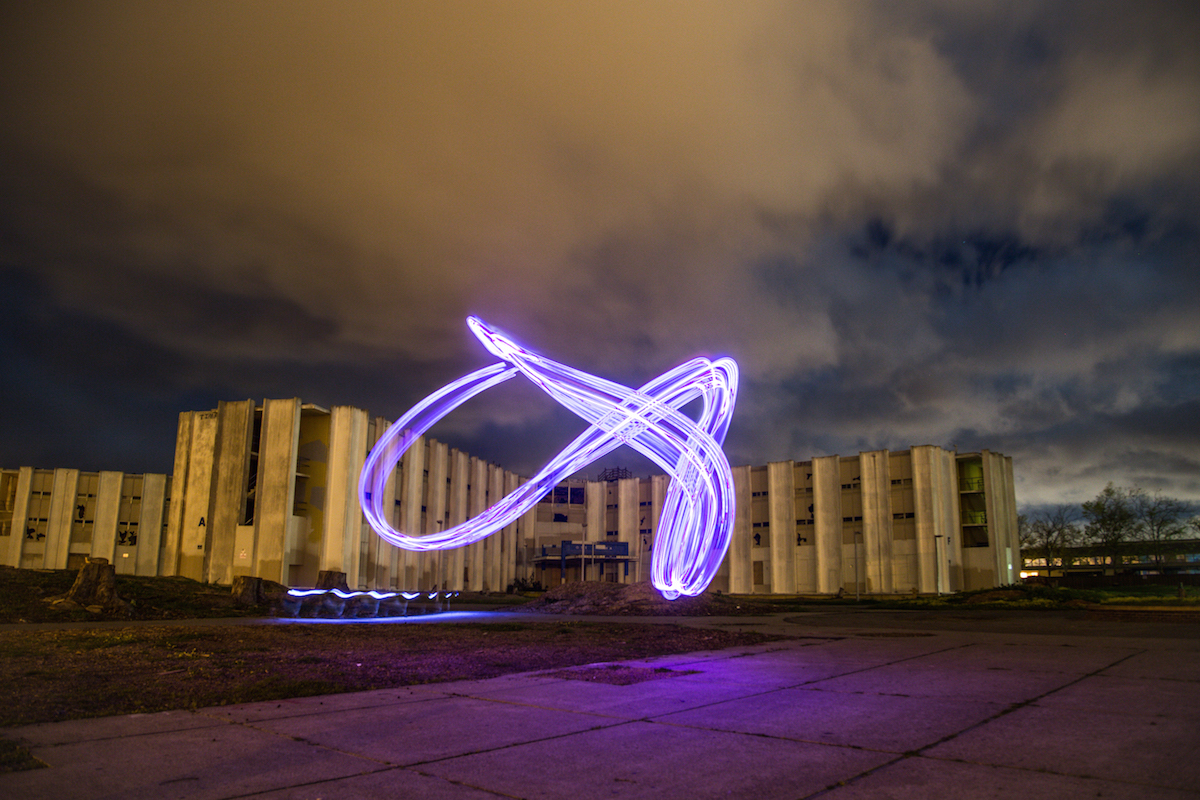
Photo by Hep Svadja
Photograph by Hep Svadja

Every second counts when flying FPV — from airspeed and reaction time to video latency to just finding the time to fly. We’re always pushing the boundaries of speed, distance, and functionality; ultimately we’re chasing a better flying experience. Who wants to quit just because the sun goes down?

Here’s how to rip through the darkness, flying at night using infrared (IR) cameras and illumination. You can combine popular retail solutions with some Maker innovation to squeeze every last enjoyable moment out of your aircraft.

Embrace the Dark Night

Let’s talk about light (or the lack thereof). Darkness can be defined by the absence of light. Light, or moreover reflected luminance, is measured in a unit referred to as a “lux.” Here are a few examples of lux in the real world:

Illuminance Surfaces illuminated by:
0.0001 lux Moonless, overcast night sky (starlight)
0.002 lux Moonless clear night sky with “airglow”
0.27–1.0 lux Full moon on a clear night
3.4 lux Dark limit of civil twilight under a clear sky
50 lux Family living room lights
80 lux Office building hallway/toilet lighting
100 lux Very dark overcast day
10,000–25,000 lux Full daylight
32,000–100,000 lux Direct sunlight

Project Steps

1. CHOOSE A LOW-LIGHT, INFRARED-SENSITIVE CAMERA

If your camera can’t see in low light, you can’t fly. As dusk gives way to night, outdoor ambient light fades from 100 lux down to as low as 0.0001 lux on a moonless night. That’s quite a range of darkness to conquer.

I flight-tested 2 low-light, IR-sensitive cameras to gauge their nighttime effectiveness; both are small and lightweight and accept a wide range of power, 5V–24V DC (from a 2S, 3S, or 4S battery). Special thanks to Rainer Von Weber and SF Drone School for their assistance!

Sony Super HAD II, 600TVL, 28mm×28mm

sonysuperhad2
Photograph by Hep Svadja
  • IR blocking (film on sensor) and IR sensitive versions available

  • Min. illumination: 0.01 lux (e.g. full moon)

  • Day/night: Auto/Color/B&W (resolution is increased to 650VTL in B&W mode)

  • White balance: Manual/Auto/Auto track

  • Features: 2.1/2.8/3.6mm lens options, digital noise reduction, wide dynamic range, OSD setup menu and controller

RunCam Owl, 700VTL, 19mm×19mm

Figure A
Photograph by Hep Svadja
  • IR blocking: on lens, removable

  • Min. illumination: 0.0001 lux (starlight)

  • Day/night: Auto

  • White balance: Auto

  • Features: ½” f/2.0 150° wide-angle lens, voltage regulator, onboard mic

Sony’s 28mm mini cam is an FPV standard, and the IR-sensitive version worked well at night with the proper illumination. But RunCam’s Owl was designed for FPV night flying, and was the hands-down winner in my testing.

TIP: If your IR-blocked Sony has its IR film on the CCD sensor (not the lens), you can remove it to make the camera IR-sensitive.

2. INSTALL YOUR IR CAMERA

a. Remove your existing FPV equipment.

b. b. Replace with your IR-sensitive camera: Yellow wire is signal, red is power, and black is ground. I created a generic 3D-printed housing for mounting the Sony camera on my drone (shown below); you can download the file for printing at Tinkercad. The Owl is so small you can just use its existing housing.

Figure B. Photo by Hep Svadja
Photograph by Hep Svadja
Photo by Justin Kelly
Photograph by Justin Kelly

c. Before powering on, check wiring for polarity and make sure your power line is providing the right voltage for your camera.

d. Confirm that the camera is functioning, then proceed to camera setup if available. The RunCam Owl, having no setup or controller, is basically done once installed.

The Sony has an in-depth on-screen display (OSD) setup menu allowing you to really tune your camera to your local conditions. For night flying, there are a few settings to adjust to gain the most from the camera while reducing latency. The most important is to force it to B&W while reducing the shutter speed to 1/60. Here’s what mine look like:

Invisible Floodlights

So you’ve flown around and you like what you see. But you don’t like what you still can’t see — the areas too dark for even the keenest of vision systems.

Let’s burn off the veil of darkness with infrared illumination. Infrared light is so far to the red end of the light spectrum that humans can’t even see it. But we can employ technology to give us bionic, superhuman vision by simply removing the camera’s IR filter and employing an IR light source.

spectrum

Why IR and not just a flashlight? — Infrared light travels farther and takes less power to generate, so it’s great for mobile platforms. And IR is undetectable to the naked eye, so it won’t disturb anyone with beams of light flying around in the night.

3. CHOOSE A DONOR INFRARED ILLUMINATOR

I sourced 2 different IR flood lamps designed for night vision security systems, then gutted the electronics for mounting on my aircraft. Both systems run on 12VDC, emit infrared light at 850nm, and accept traditional 3S and 4S batteries without complaint. (Direct wiring is possible but not recommended, as the invisible lights will drain your flight battery to unsafe voltage levels if you forget about them. Instead, I add a small 3S battery.)

CMVision IR30 Wide Angle IR Illuminator — 30 high-power IR LEDs, 50′ range

CMVision
Photograph by Hep Svadja

Univivi U03R 90° IR Array Illuminator — 4 large high-power IR LEDs, 100′ range

Univivi
Photograph by Hep Svadja

I tested both and found that the properly aimed 4-pack generated more focused light at a distance outdoors. The 30 smaller LEDs would likely be better for indoor flying where speeds are lower and lateral illumination is important. Your usage may vary. You can also experiment with a higher-voltage battery to gain more IR light.

image019
Photograph by Justin Kelly

4. MAKE YOUR INFRARED DRONE FLOOD LAMP

a. Remove the IR array from its metal housing.


b. Cut the provided 2-pin power lead, then join it to a new power lead for an isolated battery (recommended) or for existing aircraft power.


c. Install the IR array onto your aircraft so that its angle matches the angle of your FPV camera. You can download and 3D print my 2″-diameter Flood Lamp Mount.

image017
Photograph by Justin Kelly

d. Power up your IR array. Below you can see the Sony camera’s view with bright ambient lighting, low ambient lighting, with the 30-LED IR flood lamp, and with the high-power 4-LED spot lamp — huge difference!

You’re ready to pierce the darkness. Remember, when flying at night, even with the aid of technology, it’s best to know your surroundings and be familiar with obstacles that are hard to see even in the best conditions. Now go rip!